
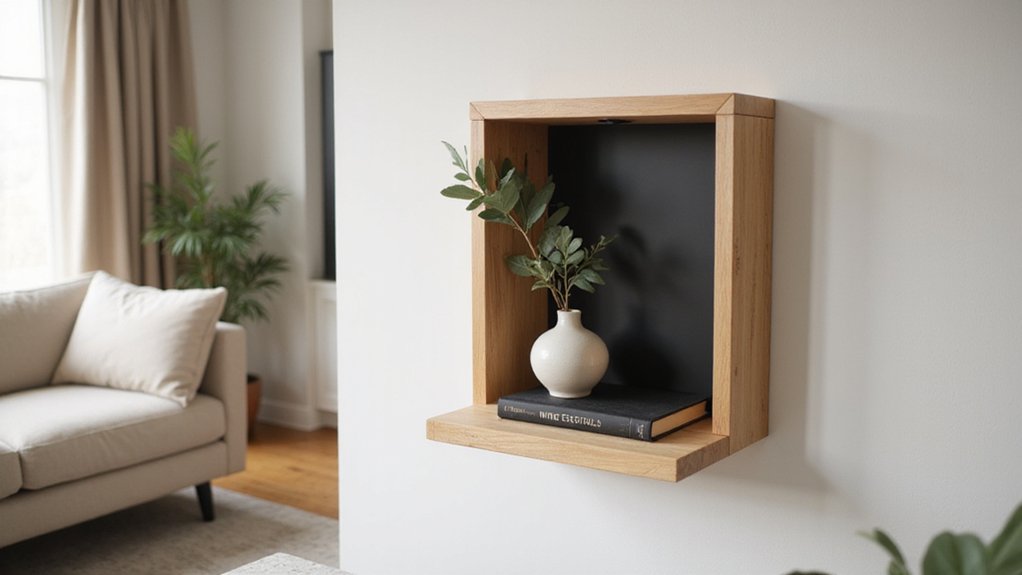

Wondering how to build a proper cover for your breaker box? The key is ensuring it’s safe, durable, and up to code.
You’ll need to measure your panel’s depth and create a cover that provides a dead-front barrier with noncombustible materials.
The full guide below walks you through how to do it right and avoid common pitfalls.
Why You Should Think Twice Before Building a DIY Breaker Box Cover
Building a DIY breaker box cover is a dangerous idea because it exposes you to serious shock and arc-flash hazards every time you remove or replace the panel cover. When the panel is live, bus bars become exposed, increasing the risk of accidental contact. Touching these energized parts can result in severe burns or even an explosive energy release. Makeshift covers made from materials like cardboard or non-rated products cannot provide proper insulation or protection, leaving you vulnerable during maintenance. Similarly, a key safety principle in electrical work is that negative battery cables come off first to prevent short circuits and accidental sparks. Unlike certified electrical panels, solar chargers without batteries avoid the high-voltage risks found in home breaker boxes. Open gaps around improperly installed covers allow dust, moisture, and pests inside, which can corrode components and increase the risk of faults or electrical fires. For your safety, always use manufacturer-approved covers designed specifically for your panel. Unlike choosing from top battery picks based on performance and value, a cover failure offers no such comparison, as any non-certified alternative directly compromises your protection.
What the Code Actually Says About Panel Covers and Dead Fronts
The Code requires that panel covers be dead fronts, meaning they must not have live parts exposed on the operating side. According to NEC Article 100, a dead front is defined as a panel that prevents anyone from accessing live parts. NEC 408.38 states that panelboards must be mounted within a cabinet or enclosure that is considered dead front. This ensures no live wiring or parts are reachable from the operating side. Breaker handles can extend through the cover, but there must be no exposed wiring or open gaps that could allow accidental contact. Unused breaker spaces need fillers to maintain the barrier. The standard doesn’t specify that a door is necessary; however, the cover itself must fully prevent accidental contact with live parts. If a panel was designed with a factory door, removing or modifying it with a DIY cover can compromise compliance, so the cover must be designed to meet the dead-front requirement without exposing live parts. For additional safety, selecting circuit breakers for fuse boxes that meet UL standards is essential to ensure proper protection and compatibility. Similar to selecting agricultural equipment, using high-efficiency components can improve overall system reliability and safety. A reliable 6-volt battery charger can also help maintain backup power systems for critical safety equipment.
How to Measure Your Panel Without Breaking the Working Clearance Rules
To measure your panel without breaking the working clearance rules, start by measuring from the front of the enclosure to establish the required working-space depth. For a 120/240 V panel, this depth should be at least 36 inches. Use a straight edge or a measuring device that provides an accurate, unbroken measurement—avoid tools like a tape measure combined with an angled level, as they can yield incorrect results. Accurate measurement ensures your new cover will meet code requirements and avoids costly rebuilds later. For optimal results, consider using a reliable lithium battery tester to verify any backup battery voltages in the panel area. If the backup battery is dead, you may need to start a generator without a pull cord to power your tools temporarily. If the inverter itself is malfunctioning, a SolarEdge inverter reset can often resolve communication or power issues.
Next, set the workspace width at a minimum of 30 inches, centered on the panel. This allows enough room for safe access and repairs. Maintain a headroom of at least 6 feet 6 inches to provide sufficient clearance above the panel. Confirm that the dead front—which is the panel cover—can fully open within this zone without obstruction.
Finally, verify that the final fit of the cover does not block any access points or interfere with the operation of the dead front. Take your time to measure precisely before proceeding to build or install the cover. Proper measurements ensure compliance and safe working conditions while preventing the need for rework.
Choose the Right Material for Your DIY Breaker Box Cover
Noncombustible materials are essential for breaker box covers to meet safety and code standards. Steel or stainless steel are top choices because they offer excellent fire resistance and impact protection, making them compliant with electrical codes. Aluminum is a lighter alternative that maintains good safety standards without adding excessive weight. Polycarbonate (PC) can be suitable if it is rated UL 94 V-0, indicating it is flame-retardant and meets safety requirements. Digital multimeters for electricians are often reviewed alongside enclosure safety tools, but they do not directly affect material selection for covers. Avoid using materials like ABS with an HB rating, as they are not suitable for electrical enclosures due to inadequate fire resistance. Plywood or other generic combustible materials should never be used because they lack the necessary fire-resistant properties and violate safety codes. While intumescent materials add fire-rated protection, they are only effective when used as part of a properly rated enclosure, not as standalone covers. Always prioritize documented products that are enclosure-rated over those chosen solely for aesthetics. Similarly, when selecting any enclosure material, consider how heat shrink tubing provides an additional layer of insulation and protection for wiring within the box. Your choice of material has a direct impact on occupant safety, so selecting the right noncombustible, code-compliant options is vital. For those seeking alternative safety upgrades, a properly chosen interlock kit can ensure safe generator-to-panel connections while maintaining code compliance.

Compatibility: Breaker Cover Plate for electrical panels and breakers, Perfect match for unused 1-inch breaker panel blanks locations, prevents the ingress of dust and foreign objects, and avoids inadvertent contact with energized parts

Compatibility: Circuit breaker filler panel for Siemens Load Centers Compatible with QP/BQ/ED2/EQL/SEQ/EQG Breakers, Fills Opening Breaker Box Cover, Provides reliable security

RACO Handy box covers are designed to match the contours of the box
Build a Simple DIY Breaker Box Cover That Won’t Block Access
To build a simple DIY breaker box cover that won’t block access, start by measuring your panel’s exact location, including the required 36-inch depth, 30-inch width, and 6.5-foot vertical clearance. This ensures you design a cover that fits precisely and allows for safe, comfortable access. Use sturdy hinges rated for frequent movement, such as piano hinges or heavy-duty spring-loaded hinges, so the cover can open fully to a 90-degree angle without snagging or sticking. Attach the hinges directly to the wall frame, not the breaker panel itself, to avoid obstructing breaker labels or access points.
Construct a frame out of wood or metal that can be easily hinged and is durable enough for repeated use. The frame should be mounted to wall studs for stability. Ensure the cover is removable without tools for convenient access during maintenance or emergencies, meaning you can lift it off or disconnect it with simple hand actions. Always verify your finished setup maintains adequate headroom and clear approach paths and doesn’t interfere with existing trim or fixtures.
Before finalizing your project, double-check that the cover design complies with local electrical codes and safety regulations. Confirm it doesn’t reduce workspace clearance or block essential access routes, ensuring safety and functionality. Keeping the cover simple, sturdy, and accessible makes routine breaker inspections easier without sacrificing safety or aesthetics.

Heavy Duty Continuous Piano Hinges: Piano hinges are made of 0.06" thick stainless steel with a smooth black finish for rust resistance and durability; stronger than most stainless steel piano hinges on the market (most hinges are only 0.03"-0.04"); Stainless continuous piano hinges are more corrosion resistant than zinc and other steel hinges
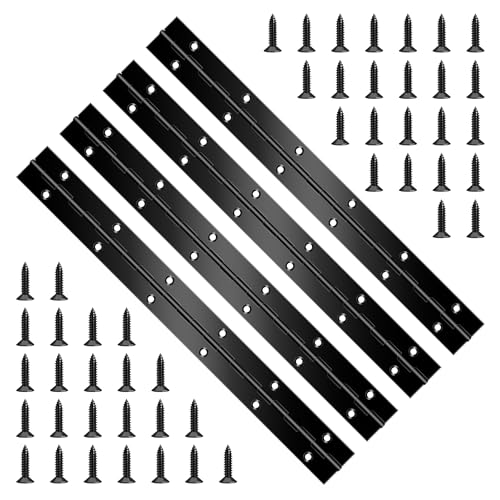
【Value package】Package Include 4 x black piano hinges with 48 x Mounting Screws. Each knuckle of continuous hinge is a load-bearing point, providing uniform strength and smooth pivot action; friction-type pins won't fall out.

Wide 3 Inch Profile: a two-pack of piano hinges, each measuring 3 inches (7.6 cm) in width and 36 inches (91 cm) in length, offers extended coverage and weight distribution along the entire structure; The broad design helps prevent sagging and ensures smooth operation for large gates and panels
Mount Your Cover for a Secure, Quick-Release Fit
Mount your hinged cover using a quick-release latch positioned at the center of the frame for fast, tool-free access. This ensures you can easily open and close the cover while keeping it securely shut during normal use. Select fasteners that strike a balance between security and serviceability; a quarter-turn latch allows you to close it by hand but requires a tool to open, preventing accidental dislodgement. Verify that your mounting surface is flat and stable, as irregularities can compromise the fit and weaken the seal over time. When installing, align the cover using the keyhole slots before tightening to avoid misalignment. Avoid over-tightening, as this can crack the enclosure or distort the gasket. Always use rated fasteners matching your cover’s specified attachment style to maintain code compliance and ensure reliable protection. For high-performance systems, consider using MC4 connectors for their secure and weatherproof locking design. As with other components, use rated fasteners that match the material and load requirements to prevent failure under stress. When sourcing durable materials for the cover, note that flexible panels are often better suited for curved or uneven surfaces, unlike rigid panels which require a flat mounting area.

MATERIAL-Made of aluminum alloy and 304 stainless steel rod, durable, high temperature resistant and scrape resistance. Outer Diameter:1.25"/31.8mm; Anodized with rich black color give you a clean and stealthy look.
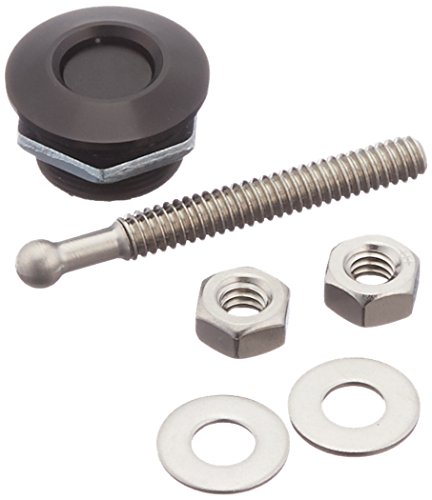
Push button latches can be used as fasteners on body panels, hoods, deck lids, air cleaners and many other purposes

MATERIAL- Made in Aluminum Alloy and 304 Stainless Steel Rod. Outer Diameter is 1.25"/31.75mm; Anodized with rich black color for a stealthy and clean look.
Why DIY Covers Can Fail Safety and Code Requirements
A DIY cover can fail to meet safety and code requirements even if it fits securely and releases quickly. A cover that does not fully block access to live bus bars or terminations leaves you vulnerable to electric shock. Small gaps or openings can also compromise the enclosure’s barrier function, increasing the risk of accidental contact or debris entry. Using improvised materials may seem convenient, but they often warp, crack, or fail to contain arcs, creating fire hazards. A loose or ungrounded metal cover can accumulate debris and increase the risk of heat buildup or sparks. Your cover must also preserve breaker labels, allow handle access, and maintain the required working clearances—typically at least 30 inches wide and 36 inches deep. For safe adjustments to the cover, you might use heat shrink tubing applied with a common hairdryer to insulate exposed wiring or terminals without a heat gun. Blocking ventilation or trapping heat deteriorates equipment performance and shortens its lifespan. Fasteners need to be secure enough to stay in place but removable for servicing. If your cover isn’t specifically listed and approved for your panel, you risk voiding its certification. A proper cover must also ensure effective thermal management to prevent overheating of the internal components. Ultimately, safety and code adherence demand a proper, approved barrier that complies with all standards—your quick fix may not cut it.
Will Your DIY Breaker Box Cover Pass Inspection? 5 Checkpoints
To ensure your DIY breaker box cover will pass inspection, you need to meet five critical checkpoints. First, check that your circuit labeling remains legible and up-to-date with the cover installed. All labels, including identification and warning notices, must be clearly visible and not obstructed.
Second, verify the material durability of your cover. It must act as a proper dead front, preventing access to live parts. The design should resemble factory-made covers, not makeshift solutions. Any custom cutouts need to fit tightly, with gaps no larger than 1/8 inch to prevent accidental exposure. Ensure all connections behind the cover are properly torqued to manufacturer specifications, as loose connections can cause arcing or overheating inside the panel. For maximum protection, consider using materials with high-impact resistance similar to those found in outdoor-rated balcony solar panels.
Third, ensure the cover is securely fastened. It should stay in place without shifting, rattling, or detaching during typical use. Avoid temporary mounting methods like tape or clips that can loosen over time.
Fourth, confirm there is adequate working-space clearance. Maintain at least 36 inches of clearance in front of the panel and 30 inches of width. No furniture, shelves, or objects should intrude into this area, allowing safe access during maintenance or emergencies.
Finally, seal all unused openings. Open knockouts or blank spaces are frequent points of failure. Your cover must fully enclose these areas to provide complete physical protection while still allowing access where needed.
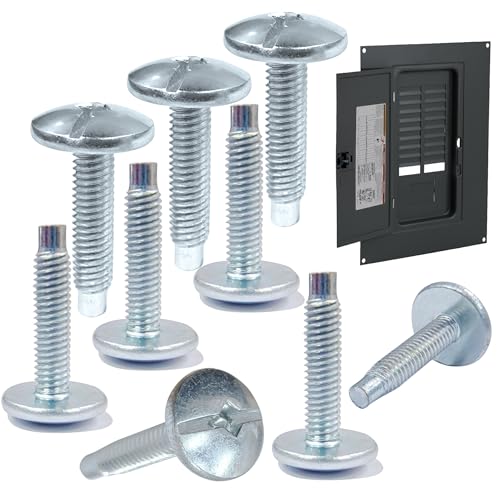
· PERFECT FIT COMPLETE KIT:: Precision #10-32 guarantee a seamless fit in compatible panel cover holes. 9 Piece screws provide a full replacement set plus valuable extras for your service kit.
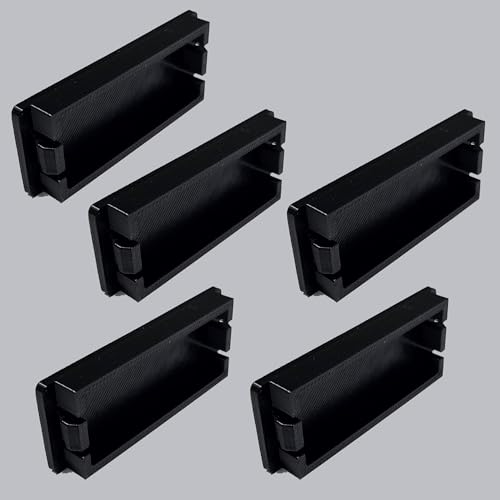
Durable ABS Construction: Made to last with a robust, non-slip material

Universal Fit: Fits standard electrical panels and breakers, perfect for filling unused positions
How to Test Your Cover for Access, Safety, and Label Visibility
Check label visibility. Open the cover and verify that you can easily read the circuit directory without removing it. Labels on the breakers should be clear, legible, and free from fading or peeling. Replace any damaged or unclear labels to ensure each breaker’s purpose is immediately identifiable. Test lighting from a standing position to ensure no glare or shadows obscure the text. Use a bright, steady light source, especially in dim areas, to make sure the labels and the circuit directory are visible under various lighting conditions. Unlike conventional generators, inverter generators produce clean power that is safe for sensitive electronics, making them ideal for backup circuits you might label on your cover.

Versatile Application: Our circuit breaker labels are specially designed to fit seamlessly on your circuit breaker switches. They adhere securely to any surface, indoor or outdoor, and are engineered to withstand diverse conditions while maintaining their durability and effectiveness

Comprehensive Set: The set includes 10 breaker directory labels, 4 number labels, and annotation tags. With these ample labels, you can easily and efficiently organize and label each circuit in your electrical panel, simplifying circuit management and making your work more efficient and convenient.
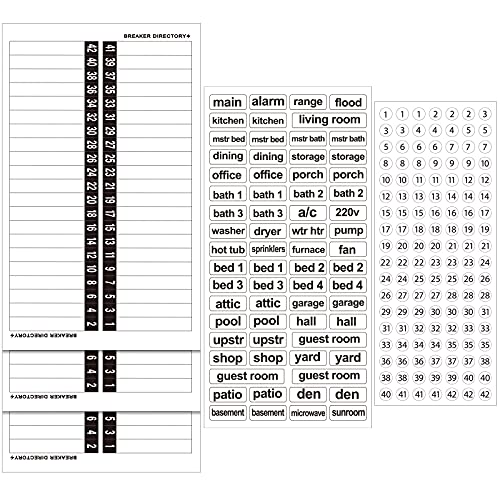
Total quantity: you will receive 5 pieces circuit breaker directory stickers, which can hold up to 42 entries and are equipped with corresponding digital dots to help you identify the circuit breaker; Sufficient quantity can meet your various needs, and you can share with family