
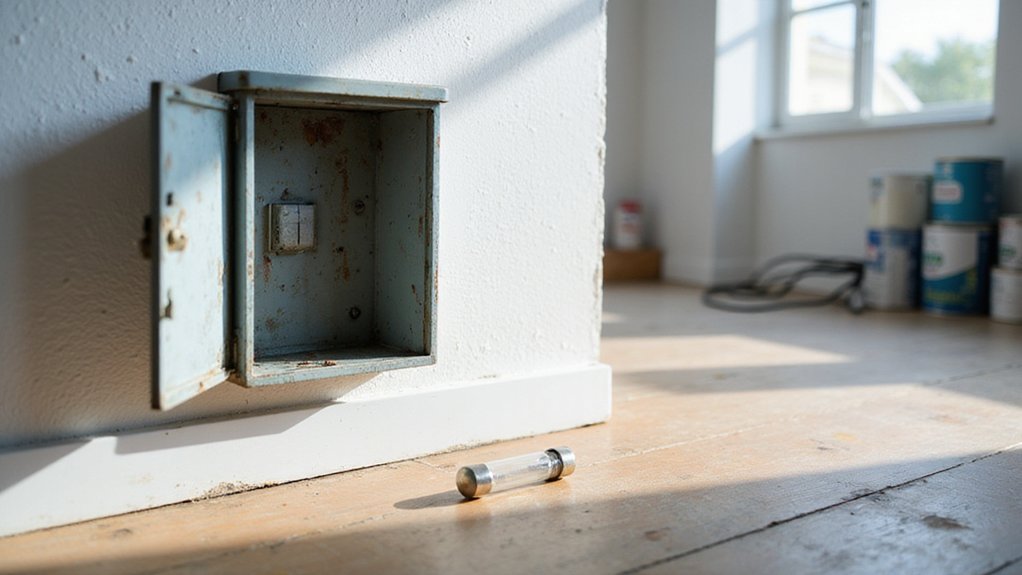

If a fuse blows in your breaker box, you might wonder how to replace it safely and effectively. Knowing the right steps can save time and prevent accidents, whether you’re fixing an electrical issue or upgrading your panel.
By the end of this guide, you’ll be able to identify a blown fuse, match the right replacement, and restore power confidently.
Step 1: Turn Off the Main Power Before You Start
Always shut off the main power before touching any fuse. Fuse safety requires you to eliminate all live voltage inside the panel. Even after flipping the main breaker or removing a pullout fuse block, the utility lines feeding the panel remain energized. You must treat the panel as live until you verify otherwise with a tester. This approach is similar to why mechanics disconnect negative battery cables first, as doing so breaks the ground path and eliminates the risk of accidental shorts. Beginners frequently waste time by not using proper tools for stripping and securing wires inside the panel. Understanding correct handling is essential to avoid damaging the panel components or causing a shock hazard.
Start by locating the main disconnect. Check the panel labeling, which may read “Main,” “Emergency Disconnect,” or “Service Panel Disconnect.” Modern panels typically use a large main breaker, while older systems might have a pullout block or screw-in fuse. Before working on branch circuits, shut them down first, then turn the main breaker firmly to OFF. For pullout fuse units, grasp the handle and pull straight out. Always stand square to the panel with dry hands and use one hand to limit the current path. To prevent accidental re-energizing, tag the panel after turning it off.
How to Locate the Blown Fuse in Your Panel
To locate a blown fuse, start by turning off the main power to prevent electrical shock. Then, identify the specific circuit affected by the outage by testing your outlets or lights; this helps narrow down the fuse to check. Open your fuse panel and visually inspect each fuse’s window for a broken metal strip, darkening, or scorch marks, which are common signs of a blown fuse. Compare suspicious fuses with intact ones to notice internal differences. If visual clues are unclear, use a multimeter set to continuity mode— a blown fuse will show no continuity or display an overload (OL) reading. Additionally, sniffling near the fuse holder for a burnt smell or feeling for heat can help confirm a faulty fuse. Remember to check grouped fuses serving the same area, as multiple fuses may need inspection to identify the affected circuit accurately. This thorough approach ensures you identify the correct fuse before replacing it. For maintaining system reliability, consider that battery terminals are also critical for performance and value in electrical systems.
Remove the Blown Fuse With a Fuse Puller
To remove a blown fuse with a fuse puller, start by confirming the fuse is blown and turning off the main power. Place the fuse puller directly over the fuse body without touching the surrounding panel. Open the puller’s jaws and align them precisely with the fuse’s gripping points. Ensure it sits firmly but gently to avoid crushing the fuse; a loose fit can cause it to slip or damage the fuse. For a secure grip, remember that tightening the tool firmly but gently avoids slippage.
Pull the fuse straight out of its socket without twisting, wiggling, or levering sideways. Excessive force can break the fuse or damage the socket contacts. Lift the fuse clear of the panel steadily and controlled to prevent it from dropping into the box. To avoid dropping the fuse, squeeze handles carefully only when clipping onto the fuse, then pull by changing direction once clipped. Proper handling ensures safety and a clean removal. Many modern solar panel systems use MC4 connectors for secure and tool-free electrical connections.
Inspect the removed fuse for broken elements or signs of burn damage. Also check the fuse holder for heat damage or corrosion, making sure no fragments remain in the socket. If the fuse does not come out cleanly or feels resistance, stop and reassess before proceeding. Afterward, store the fuse puller safely for future use. Building your own battery tester can help verify fuse continuity before installation, ensuring the new fuse is functional.

Made in United States

[Easy to Use]: Thin tips and offset handles allow for easier use than traditional pliers. The clamp head is convenient for entering and leaving a small space Where human hands and other tools cannot reach, And is not easy to damage the relays and Fuses.𝐏𝐥𝐞𝐚𝐬𝐞 𝐛𝐮𝐲 𝐛𝐲 𝐋𝐙𝐋𝐈𝐍𝐘𝐉𝐋𝐎𝐍𝐆 𝐬𝐭𝐨𝐫𝐞.

Package Content: You will receive 5 high-quality fuse puller tool for car in different sizes, ensuring you can effortlessly remove or replace fuses with ease and efficiency. The quantity is sufficient for various usage needs.
Match the Amp Rating and Type Exactly
You must match the fuse’s amperage rating, type, and physical size precisely. The amperage rating, such as 15A or 20A, is printed on the fuse body. Using a higher rating than original can allow unsafe current flow and weaken circuit protection. Verify the rating before installation. The fuse type—blade, glass, or cartridge—must also match exactly. An incorrect type won’t seat properly or protect the circuit as intended.
Check that the voltage rating meets or exceeds the circuit’s requirements. The blow speed, whether fast-acting or slow-blow, must match the original to prevent nuisance blowing or delayed circuit protection. Always cross-check the markings against the circuit panel’s specifications. If any detail is uncertain, do not proceed until you identify the exact match. For precise verification of fuse ratings, consider using a digital multimeter with True RMS to confirm voltage and current conditions.
Oversizing beyond the wire’s capacity increases the risk of overheating and possible damage. Accurate matching of amperage, type, physical size, voltage, and blow speed ensures your circuit remains fully protected and functions reliably. For whole-home protection against electrical surges, a top-rated surge protector installed at the breaker box can further safeguard your system.

【High-Quality Materials】: The automotive fuses feature a robust nylon shell with insulation, heat resistance, and wear resistance, while the internal copper fuse elements offer excellent conductivity, accurately identify overcurrent, and quickly blow to ensure long-term circuit safety.

Heavy-duty, dual element, time-delay cartridge fuse for motor and main panel protection.

20A Type Non Cartridge Fuse
Install the New Fuse and Restore Power
Before restoring power, ensure safety precautions are followed: keep your hands clear of the panel and make sure the cover is securely in place. Carefully flip the main switch to the on position. Once the fuse is replaced, turn on the connected device to test the circuit. If the device operates normally, the installation is complete. If it doesn’t, double-check that the fuse is seated correctly and properly placed. Finally, close the panel, removing any tools inside. For homes relying on alternative power sources, choosing top solar generators can provide a reliable backup during outages. Understanding whether you need an inverter vs converter is key for matching your power source to your devices. Properly installing the fuse ensures the power is restored safely and efficiently. Consider also adding a compact balcony solar panel to supplement your home’s energy needs.

【𝐄𝐚𝐬𝐲 𝐭𝐨 𝐈𝐧𝐬𝐭𝐚𝐥𝐥 𝐚𝐧𝐝 𝐔𝐬𝐞 𝐎𝐟𝐟-𝐆𝐫𝐢𝐝 𝐋𝐢𝐟𝐞 𝐏𝐨𝐰𝐞𝐫 𝐒𝐨𝐥𝐮𝐭𝐢𝐨𝐧】: This 3000W inverter 12v to 110v converts 12V DC power into 110V/120V AC, so you can run everyday devices anywhere. It provides 3000W continuous and 6000W peak power, ideal for for short-term offline living. Simply connect to a 12V battery for instant outlet power. Low standby current (0.6A ±0.3A) is perfectly safe for use. Perfect for Basic RVs, car travel, and backup use.
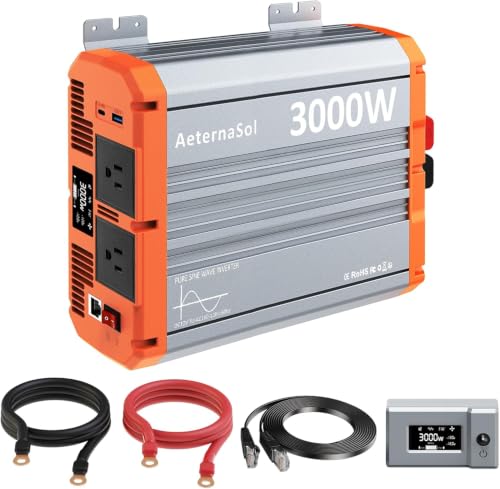
【True 3000W Pure Sine Wave Power】Power your essential devices with 3000 watt pure sine wave inverter (6000W peak) from a 12V DC battery. The pure sine wave output provides stable electricity similar to household power, helping safely run sensitive electronics such as CPAP machines, laptops, TVs, Power Tools and other small appliances
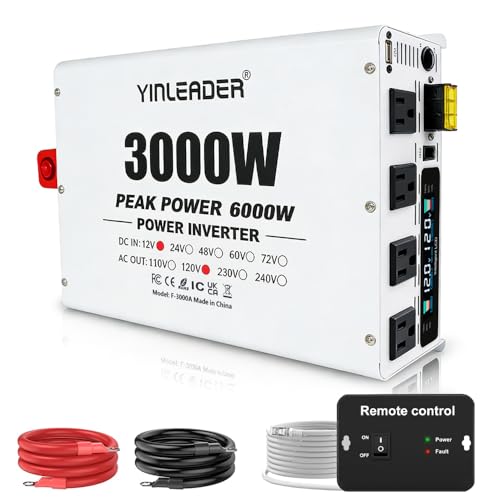
Powerful 4000W Inverter with 6000W Peak: Power Inverter 3000 watt delivers continuous 3000W DC 12V to AC 110V/120V power, 6000W peak surge for heavy loads like AC units and microwaves. With >90% conversion efficiency, minimizing loss.
Stop and Call an Electrician If You See These Signs
If you see signs of electrical trouble such as a burning smell, unusual noises like buzzing or crackling, or visible damage like burn marks or corrosion, stop immediately and call a licensed electrician. These indicators suggest faulty wiring or dangerous overheating inside the electrical panel. Do not ignore a hot panel cover or warm breakers, as they can signal imminent fire hazards. Frequent tripping of breakers or blown fuses across multiple circuits points to deeper faults that cannot be safely fixed on your own. Persistent sizzling, popping sounds, or lingering odors indicate components are failing and need professional attention. Resetting breakers won’t resolve arcing or short circuits; your electrical system should operate silently and stay cool. If it doesn’t, proceed with caution—shut off the main breaker if it’s safe to do so and consult a professional to assess the risk before further action.

SECURE ELECTRICAL PANEL ACCESS – The PS1 electrical panel lockout device helps prevent unauthorized access to circuit breaker panels, breaker boxes, and electric panel doors when safety control is required.

【Compatible Models】Generator Interlock Kit Compatible with Square D QO or Homeline 150 or 200 amp panels.

【Compatible Models】The generator interlock kit fits GE circuit breaker panels equipped with a single vertical main breaker, The distance between the main circuit breaker and the nearest branch circuit breaker is 2 1/2''.