
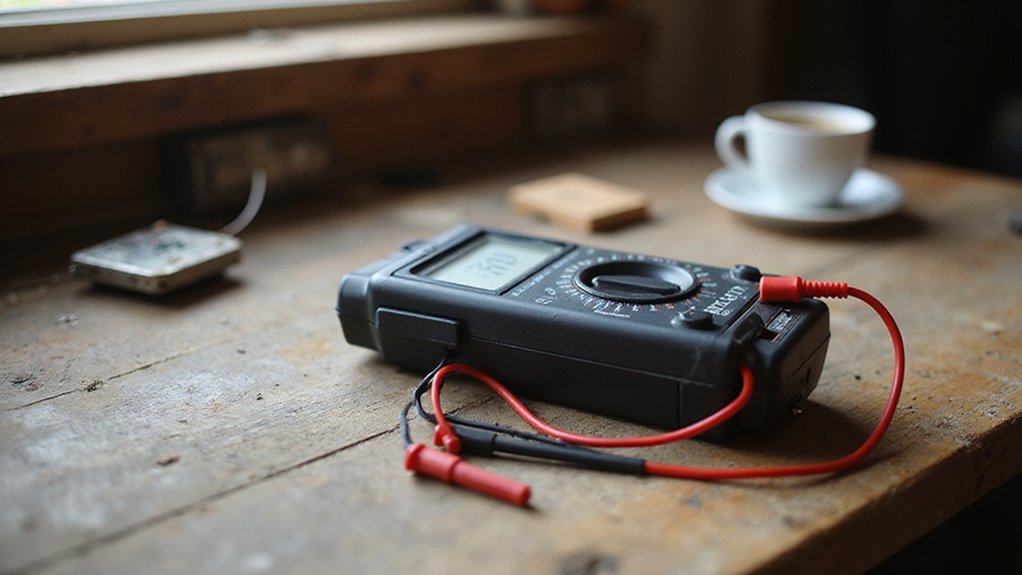

Ever wondered how to accurately measure voltage, current, or resistance in your projects? A digital multimeter is the tool that makes this possible, converting raw signals into easy-to-read digital displays using an internal analog-to-digital converter.
Whether you’re working on a bench or in the field, understanding the essentials ensures safe, precise measurements.
Stay with us to learn the details that set apart good meters from the best.
What Is a Digital Multimeter and How Does It Work?
A digital multimeter works by measuring electrical quantities through a series of internal stages. When you connect the probes to a circuit, they create an input signal that the meter’s input stage conditions via amplification and filtering. This prepares the signal for accurate reading. The analog-to-digital converter (ADC) then samples the conditioned signal, converting it into a digital value for each measurement. A microprocessor processes these digital signals, performing necessary calculations based on the selected function, such as voltage, current, or resistance. To ensure reliable readings, you need to calibrate the meter regularly, especially before testing critical circuits like batteries. Calibration involves verifying and adjusting the internal measurements to match known standards. For instance, when testing a 48V battery, recognizing signs of ageing can help you anticipate when replacement is needed. Similarly, choosing a multimeter with good battery terminals can improve the accuracy of your tests by ensuring a stable connection. Finally, the processed data is shown on a digital display as clear numbers and units, making it easy to read and interpret. Each internal component must operate correctly; otherwise, the measurement could be inaccurate. Just as solar inverters benefit from simple habits like keeping them clean and ventilated to extend their lifespan, a multimeter also performs best when stored in a dry, dust-free environment.
What Can a Digital Multimeter Measure and How?
A digital multimeter measures voltage, current, resistance, and several other electrical parameters. To measure voltage, connect the probes in parallel across the source, with the black lead in the COM jack and the red in the V/Ω jack. Ensure the meter is set to the correct voltage range to avoid overloading and check that the circuit voltage is within the meter’s capacity. For current measurements, insert the meter in series with the circuit, using the dedicated current jack, which prevents circuit disturbance and accurate readings. Resistance testing requires the circuit to be powered off; connect the probes across the component in parallel, allowing the internal test current to determine the resistance value. When testing for continuity, set the meter to continuity mode to quickly identify open or short circuits through an audible beep. Diode testing involves measuring the forward voltage drop, helping verify diode health, while capacitance mode measures the value of capacitors. Additional functions like frequency, duty cycle, and temperature measurement broaden the meter’s capabilities. Remember to always follow safety protocols, such as powering off circuits before resistance measurements, and periodically verify calibration to maintain measurement accuracy.
Handheld vs. Bench-Top: Which Meter Is Best for You?
If you need the highest precision, a bench-top model is the best choice. It provides resolution up to 8.5 digits, compared to 3.5-4.5 digits in handhelds. This allows for more detailed measurements, especially when working with small signals or requiring fine accuracy. Bench-top meters also offer accuracy as precise as 0.0025%, making them ideal for critical laboratory work. Additionally, they feature faster reading speeds, advanced data logging capabilities, and PC connectivity which enable automated testing setups. Understanding solar panel aging signs helps ensure your test equipment remains reliable over time.
Handheld meters, on the other hand, are suitable for troubleshooting tasks where portability and quick measurements are more important than extreme precision. Choosing between the two depends on your workspace needs: use handhelds for on-the-go checks, and opt for bench-top models in controlled lab settings where repeatability and sensitivity are vital.

EASY TO USE: The digital multimeter can test AC / DC current, AC / DC voltage, resistance, capacitance, etc, with diode testing, continuity, temperature and other functions.

Dual display. True RMS. Basic DC accuracy: 01 percent
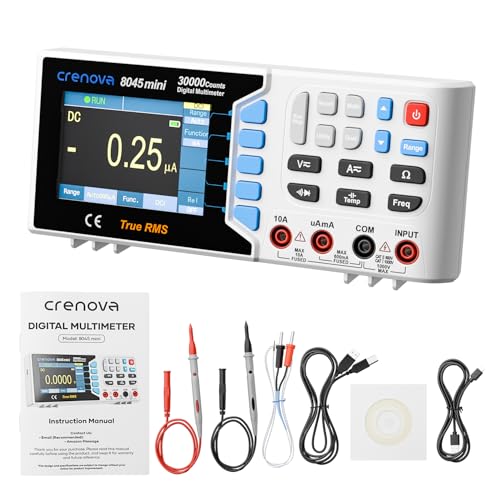
[11 Measurement Functions]: Tackle complex tasks from industrial diagnostics to advanced research. Precisely measure AC/DC Voltage/Current, Resistance, Capacitance, Temperature, Frequency, Duty Cycle, Continuity, and Diode. Calculate Max, Min, Average, dBW/dBmW, and Relative values effortlessly.
4 Key Features to Look for in Your Next Multimeter
Prioritize core functions such as AC and DC voltage, resistance, and continuity before considering advanced features like capacitance. Ensuring these fundamental measurements are accurate and reliable is essential, as they form the basis for most tasks. Verify that the multimeter’s accuracy in these key areas meets your expectations, especially if you work on sensitive or critical circuits. Advanced features are useful only if your specific projects require them; otherwise, focus more on the basic functions to get reliable readings. For those installing solar systems, comparing the best solar panel kit can help ensure your multimeter is paired with compatible components. Balance the multimeter’s resolution, typically indicated by counts, with its overall accuracy, but avoid being misled by size alone.
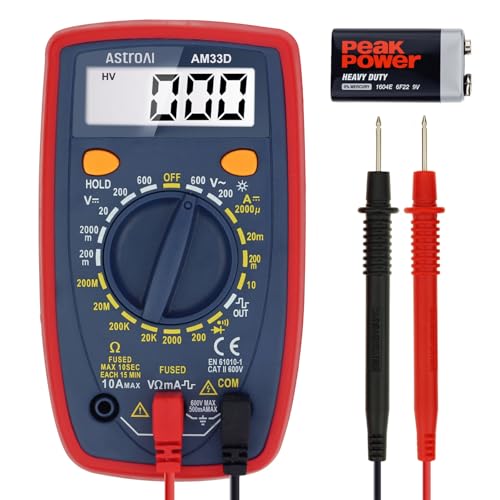
Additional Tips - The following incorrect operations may cause the multimeter not to show results: Firstly, the plugs of test leads are not fully inserted or not inserted into the correct sockets. Secondly, the manual rotary switch is not placed in the correct position. In addition, this meter can not test all AC Current and below 100mV AC Voltage. Please check the user manual carefully before measurement.
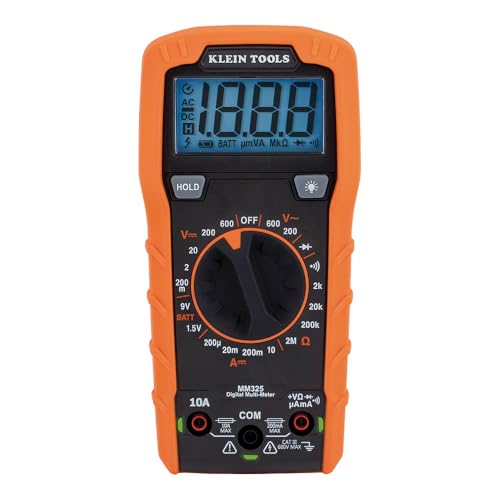
VERSATILE FUNCTIONALITY: Measures AC/DC voltage up to 600V, 10A DC current, 2MΩ resistance; additional features include continuity, diode test and battery test

Accurately Test Full Features: Accurately measures AC/DC voltage, DC current, resistance, continuity test, diode and batteries.
Avoid These 5 Mistakes When Using Your Multimeter
Always verify your input jack selection before taking measurements. Using the red lead in the current jack while measuring voltage can cause a short circuit, potentially blowing the fuse and risking electric shock. Never assume the right port is set; double-check that the black lead is in the common (COM) jack and the red in the correct measurement jack for voltage, resistance, or current. Also, switch to the appropriate range to prevent overloads, especially if you’re unsure of the voltage level. Neglecting this step can lead to inaccurate readings or damage to your multimeter. Taking a moment to confirm proper setup first helps keep your measurements safe and reliable. Additionally, fingers off leads prevents false positives and ensures reliable readings. When working on electrical systems, always ensure you have established a proper ground before making measurements to avoid shock hazards. For generator-related tasks, consider using an interlock kit to safely connect your multimeter to the transfer switch without risking backfeed. A key safety practice is to always disconnect the negative battery cable first when servicing electronics to minimize the risk of accidental shorts.

Generator Interlock Kit for Square D 150 or 200 amp Meter Main Met lab listed E113887 Kit includes Interlock, drill bit, labeling and retaining strap for generator breaker...